 Pori
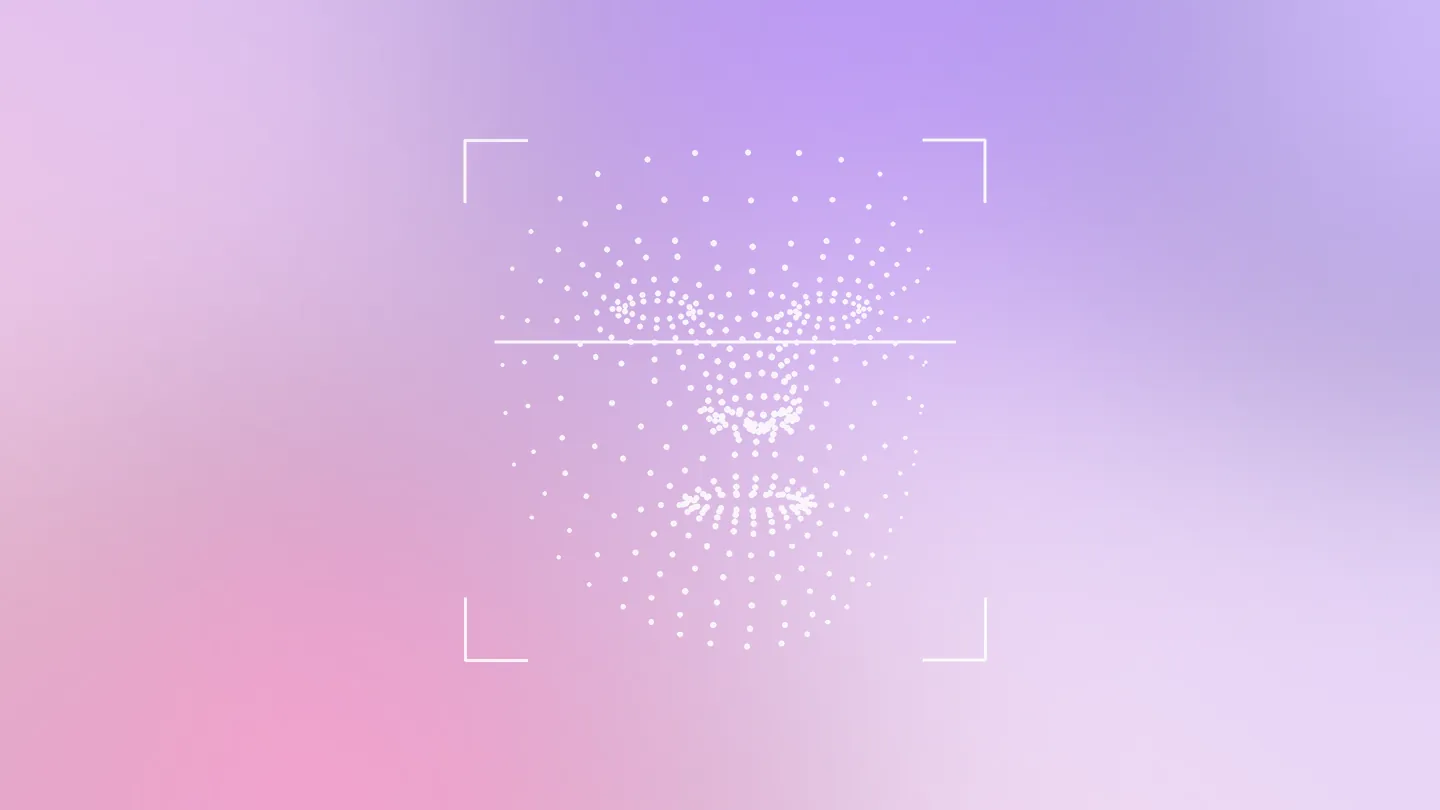
- Facial landmarks are fixed, named points on the face; MediaPipe Face Mesh places 468 of them in 3D from a single photo.
- Skin apps draw zones such as forehead, nose and cheeks between specific landmarks, so the same patch of skin is read on every scan.
- Head tilt, smiling and holding the phone closer change how each zone looks to the camera, which can move scores without any change in your skin.
- Same light, same distance, level chin and a neutral face keep the map consistent.
Face mesh landmarks are points software places on a photo of your face to mark fixed features such as the eye corners, brows, nose, lips and jawline. Google's widely used MediaPipe Face Mesh places 468 of them in 3D. Skin apps use those points as a map, cropping the same forehead, cheek, nose and chin patches on every scan so results compare like with like.
Below is how facial landmark detection works in plain terms, what the 468 face landmarks actually are, how an app turns them into skin zones, and why a tilted head, a smile or a close-up selfie can throw the whole map off.
What are facial landmarks?
Facial landmarks are a fixed set of named points on the face that a model finds in every image. A 2018 literature survey of facial landmark detection describes them as fiducial points around the facial components and contour, and notes that they capture both rigid movement (your whole head turning) and non-rigid change (expressions). Because each point always means the same thing, such as "outer corner of the left eye," software can line up two photos of the same person even when they were taken weeks apart.
The classic research format is sparse. The 300 Faces in-the-Wild (300-W) benchmark uses a 68-point markup, with a 51-point variant, that outlines the brows, eyes, nose, mouth and jaw. That is enough for tasks like aligning a face, but it leaves big open areas, such as the middle of the cheek or the forehead, with no points at all.
What is a face mesh, and why 468 points?
A face mesh is a dense web of landmarks joined into small triangles, so it covers the whole surface of the face, including the open areas between features. Google researchers introduced a model that infers an approximate 3D mesh of 468 vertices from a single camera image, running at 100 to over 1,000 frames per second on mobile GPUs depending on the device and model variant. The MediaPipe Face Mesh documentation adds that it needs no dedicated depth sensor, and that a companion module estimates a face pose transformation matrix and a triangular face mesh from the landmark positions.
The current version, MediaPipe Face Landmarker, outputs 478 3D landmarks (the extra points track the irises) plus 52 blendshape scores that describe facial expressions. Here is how the common formats compare.
| Landmark format | Points | What it covers | Typical use |
|---|---|---|---|
| 300-W / Multi-PIE markup | 68 (or 51) | Outlines of brows, eyes, nose, lips and jaw | Research benchmarks, face alignment |
| MediaPipe Face Mesh (legacy) | 468, in 3D | The whole facial surface as a triangle mesh | AR effects, region mapping |
| MediaPipe Face Landmarker | 478, in 3D, plus 52 blendshapes | Surface mesh, irises and expression scores | Filters, avatars, expression tracking |
For skin analysis, density is the point. With 468 points spread across the cheeks, forehead and around the nose, an app can draw a region boundary almost anywhere on the face and expect it to land on the same patch of skin next week.
How does facial landmark detection work, step by step?
Most mobile pipelines run two models in a row: one finds the face, the second places the points. The MediaPipe documentation describes it this way:
- Detect the face. A lightweight detector (BlazeFace) scans the full image and returns where the face is.
- Crop it. The face region is cut out and passed on. Google notes that an accurately cropped face drastically reduces the need for training tricks such as rotation and scale changes, so the network can spend its capacity on getting the coordinates right.
- Place the landmarks. The landmark model predicts the 3D position of every point, along with the probability that a face is present and reasonably aligned in the crop.
- Track between frames. In live video, the next crop can be taken from the previous frame's landmarks, and the detector only runs again when the face is lost.
The model was trained on synthetic rendered faces for 3D accuracy and on annotated real photos for 2D contours, then refined on harder cases the documentation lists as grimaces, oblique angles and occlusions. Those three cases are worth remembering, because they are exactly the situations that make scans inconsistent.
How do skin apps use landmarks to map the face?
Skin apps use landmarks to draw regions of interest: polygons tied to specific points, so each zone is anchored to your anatomy wherever your face sits in the frame. The forehead, for instance, can be bounded by the brow landmarks below and the upper face contour above. A cheek can be bounded by the lower eyelid, the side of the nose, the mouth corner and the jawline.
That approach does three useful things:
- It matches zones across scans. If you stand a little closer or hold the phone slightly higher, the points move with your face, so the cheek crop still lands on your cheek.
- It masks out what isn't skin. Eyes, brows, lips and nostrils are traced by landmarks, so they can be excluded before a model reads texture or tone.
- It lets results be reported by area. Shine and visible pores tend to concentrate in the T-zone, while fine lines show up first around the eyes. Reading zones separately keeps one area from hiding another. Our guide to face zones in skin analysis explains how to read a per-area breakdown.
| Zone | Landmarks that bound it | What apps usually read there |
|---|---|---|
| Forehead | Brows below, upper face contour above | Shine, texture, horizontal lines |
| Nose | Bridge, tip and nostril edges | Visible pores, shine, redness |
| Cheeks | Lower eyelid, side of nose, mouth corner, jawline | Tone, redness, spots, texture |
| Under-eye | Lower eyelid and upper cheek | Darkness, puffiness, fine lines |
| Chin and around the mouth | Lip contour and lower jaw | Breakouts, texture, smile lines |
The mesh only supplies geometry: it locates your cheek and says nothing about its condition. A separate vision model reads each crop and produces the scores, which is covered in how AI skin analysis works.
Why does head tilt break face mapping?
Head tilt breaks face mapping because the mesh can still label every zone while the camera sees each one differently, so the same cheek gets fewer pixels, different light and a different angle than last time. The landmarks may also land less precisely. The result is a score change that reflects your pose more than your skin.
What changes when you turn or tilt your head
- Foreshortening. Turn your head to the left and your right cheek faces the camera while your left cheek is squeezed into a narrower strip of the image. The crop is the same region of skin, but with less detail to read.
- Less precise landmarks. Benchmark comparisons in the landmark detection survey test detectors separately under varying head poses, expressions and occlusion, the conditions researchers single out. The MediaPipe landmark model also reports how likely it is that the face is reasonably aligned, which gives an app a way to reject a badly posed frame.
- Color and brightness shift. In a study of smartphone photos of skin-tone color standards, researchers found that camera angle changed both measured color and lightness, and distance changed lightness. They concluded that inconsistent distance and angle can increase variability in photographed skin over time.
- Hair and hands get in the way. A tilted head often brings hair across the forehead or cheek, which hides part of a zone.
Expressions and distance count too
A smile pushes the cheeks up, deepens the lines beside the mouth and creases the skin at the outer eye. That's why Face Landmarker reports expression blendshapes: the mesh deforms with your face. A scan taken mid-smile will read more lines than one taken with a relaxed face.
Distance distorts shape. Researchers at Rutgers and Stanford calculated that a selfie taken about 12 inches from the face makes the nasal base appear about 30 percent wider than a photo taken from 5 feet. Changing how far you hold the phone changes the proportions every zone is cut from.
| What you do | What it does to the map | Scores most likely to shift |
|---|---|---|
| Turn your head to one side | One cheek shrinks in the frame, light hits the two sides differently | Tone, redness, left vs right comparisons |
| Tilt your chin up or down | Forehead or chin is foreshortened; under-eye shadows change | Forehead texture, under-eye darkness |
| Smile or raise your brows | Mesh deforms with expression lines | Lines and wrinkles, texture |
| Hold the phone closer | Central features look larger than the sides | Pores on the nose, overall proportions |
| Let hair fall forward | Part of a zone is hidden | Forehead and cheek scores |
How do you keep the face mesh accurate on every scan?
Keep the mesh accurate by repeating the same pose, distance and light every time, so the only thing that changes between scans is your skin. A routine that works:
- Face a window. The American Academy of Dermatology says natural, bright light through a window works best for skin photos, and that the light shouldn't come from behind you.
- Hold the phone at eye level and arm's length, with your face centered and filling a similar part of the frame each time.
- Look straight into the lens with your chin level. If the app shows a face outline, line up with it.
- Keep a neutral face. Relax your mouth and brows.
- Clear the zones. Pull hair back, take off glasses, and skip makeup or tinted sunscreen.
- Pick one time of day, such as the morning after cleansing.
For a fuller setup, see how to take a skin selfie for analysis. If your numbers still jump around, why skin analysis results change between scans walks through the other usual causes.
How does a selfie scan with a face mesh help?
A face mesh makes week-to-week comparisons fair, which is what you need to see whether a routine is doing anything. Pori, our iPhone app, maps a 468-point face mesh and has an AI vision model read your face region by region. In about 10 seconds you get an overall skin score from 0 to 100, scores for Hydration & Moisture, Pores & Texture, Pigmentation & Tone, Anti-aging & Elasticity and Overall health, plus a skin-age estimate. Progress charts and before/after comparison show how those numbers move over time. Photos are sent over HTTPS for analysis and aren't kept on our servers after the result; your history stays on your phone. The download and first scan are free, and Pro costs $9.99 a week with a 3-day trial for eligible Apple IDs or $49.99 a year (US prices as of October 2026).
A face mesh and a vision model describe how your skin looks in a photo. They don't diagnose anything, and Pori doesn't check moles, so take any new, changing or worrying spot to a dermatologist.
Frequently asked questions
What are face mesh landmarks?
They are points a model places on a face image to mark features like the eye corners, nose, lips and jawline, joined into a mesh of small triangles. Google's MediaPipe Face Mesh uses 468 3D points, and the newer Face Landmarker uses 478.
Why does a face mesh have 468 points?
That is the size of the mesh in Google's MediaPipe model, which was designed to be dense enough for face-based AR effects while still running in real time on a phone. The density also lets skin apps draw region boundaries across the cheeks and forehead, where sparse 68-point formats have no points.
How do skin analysis apps know where my cheeks are?
They detect your face, place landmarks on it, and define each zone as the area between specific points, such as the lower eyelid, side of the nose and jawline for a cheek. Because the zones follow the landmarks, they land on the same skin even if your face sits differently in the frame.
Why do my skin scores change when I tilt my head?
Tilting changes how much of each zone the camera sees and how light falls on it, and research shows camera angle alone shifts the measured color and lightness of skin in phone photos. Landmarks also become less precise at oblique angles, so a tilted scan is harder to compare with a straight one.
Does the face mesh analyze my skin?
No. The mesh only locates regions of the face; a separate vision model reads each region and produces the scores. A wrong mesh still matters, though, because the model then reads the wrong patch of skin.
Can a face mesh scan diagnose skin conditions?
No. It maps the geometry of your face so an app can describe visible features like texture and tone. See a dermatologist for rashes, persistent redness or any spot that is new or changing.
Sources
- Kartynnik Y et al. Real-time Facial Surface Geometry from Monocular Video on Mobile GPUs. arXiv, 2019
- Google AI Edge: MediaPipe Face Landmarker guide
- MediaPipe Face Mesh (legacy solution documentation), GitHub
- Wu Y, Ji Q. Facial Landmark Detection: a Literature Survey. arXiv, 2018
- iBUG, Imperial College London: 300 Faces in-the-Wild Challenge (300-W)
- Cronin A et al. Effect of camera distance and angle on color of diverse skin tone-based standards in smartphone photos. J Biophotonics, 2023 (PMC)
- American Academy of Dermatology: How to take pictures of your skin to send to your dermatologist
- Rutgers University: Selfies drive self-image and may lead many to seek plastic surgery
Pori is a wellness and skincare education app, not a medical device. This article is for general information and isn't medical advice. For anything that worries you, see a dermatologist.